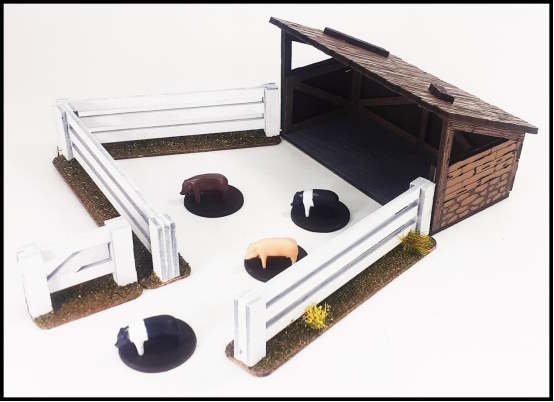
PIGPEN ASSEMBLY
|
|
|
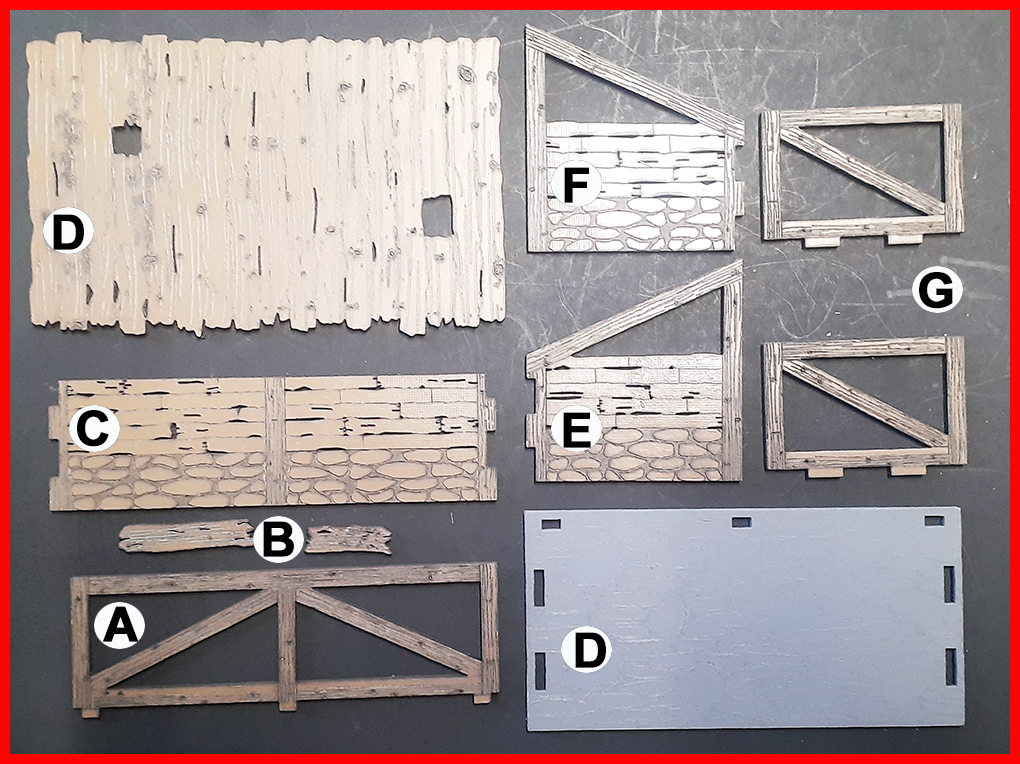
SHEET #1 - PIGPEN
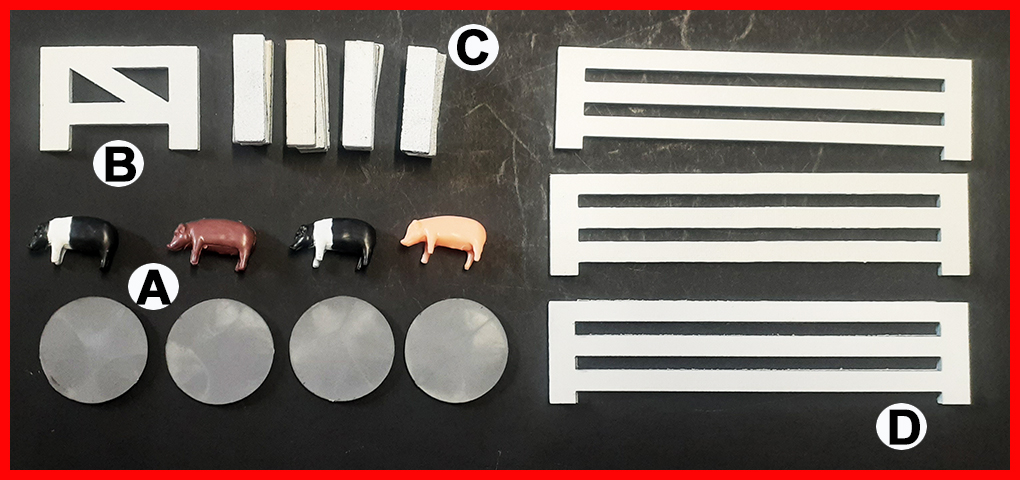
SHEET #2 - PIGS & FENCE
SHEET #3 - FENCE BASES |
|
|
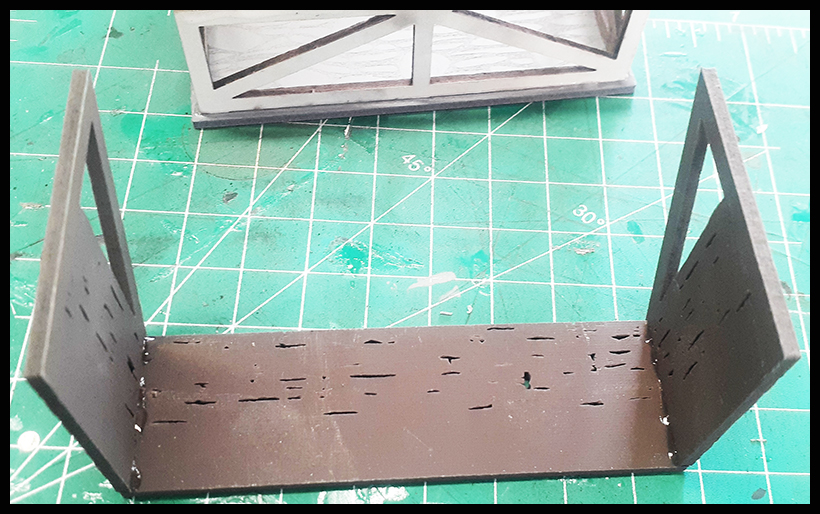
Gather parts A, D, & G as shown above from sheet #1. Line them up as shown above and dry-fit the parts for the best fit. |
Add glue to each section adjacent to each tab hole as above & the ends of the wall sections that will make contact with another wall. Once applied, place each of the wall sections in the tab holes.
|
|
This is how it should look after this part of the instructions.
|
|
|
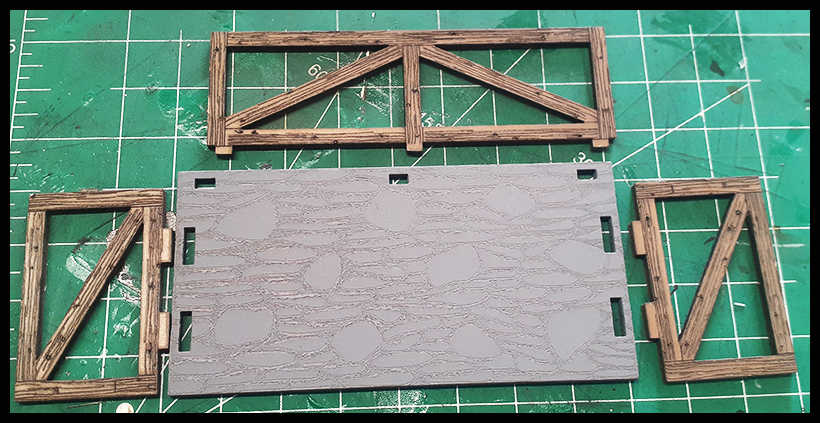
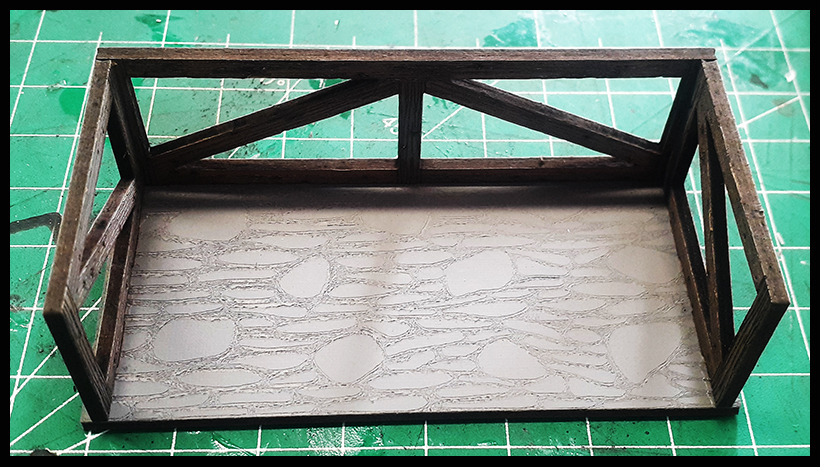
Locate from sheet #1 wall sections C, E & F as above. Add gel glue to each of the tab sections as above. Once applied, attach the wall sections. |
It should look like this after completing this part of the instructions. |
|
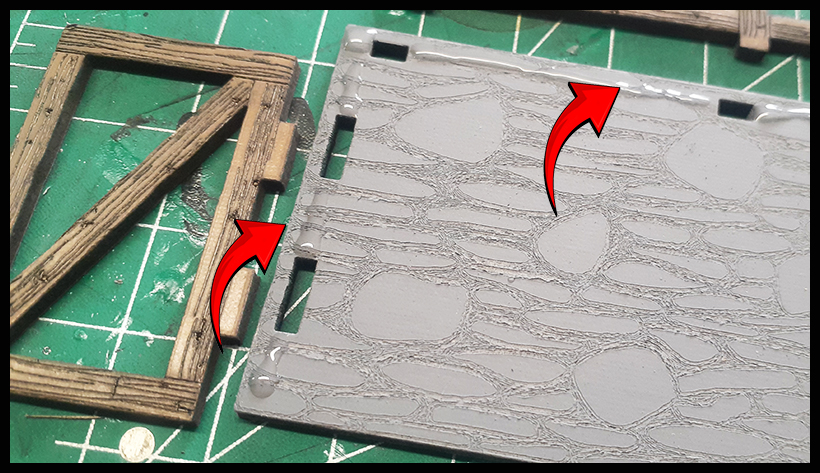
Next, retrieve the previous section, and add glue to sections of the walls exposed as above. This section will be glued to the second wall section as seen in the pictures in the next part. |
Next slip the outer wall section and glue to the inner wall section as shown above.
|
|
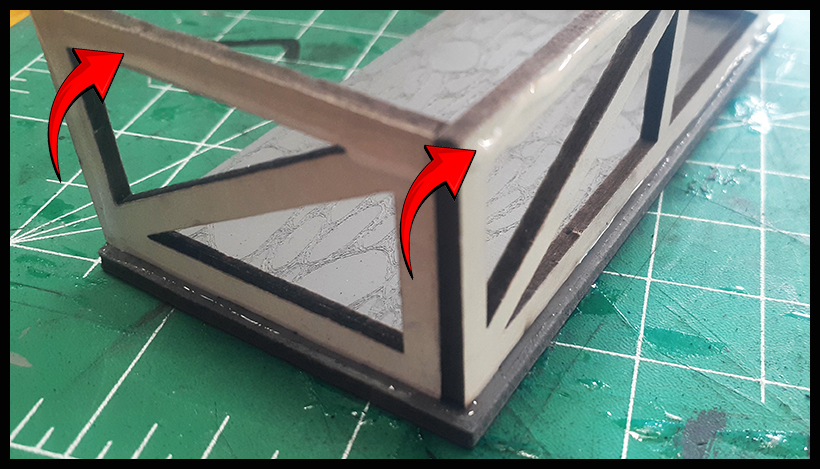
It will look like this once complete. Press the sections for a firm glue contact. |
Next locate the roof (D from sheet #1) card section as above, and place the roof section on top of the Pigpen to get the location to glue the card section. Glue in place as above.
|
|
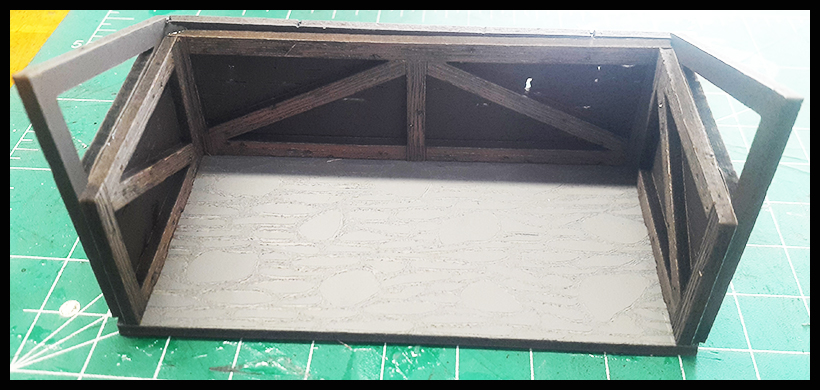
It will look like this when added to the top of the Pigpen.
|
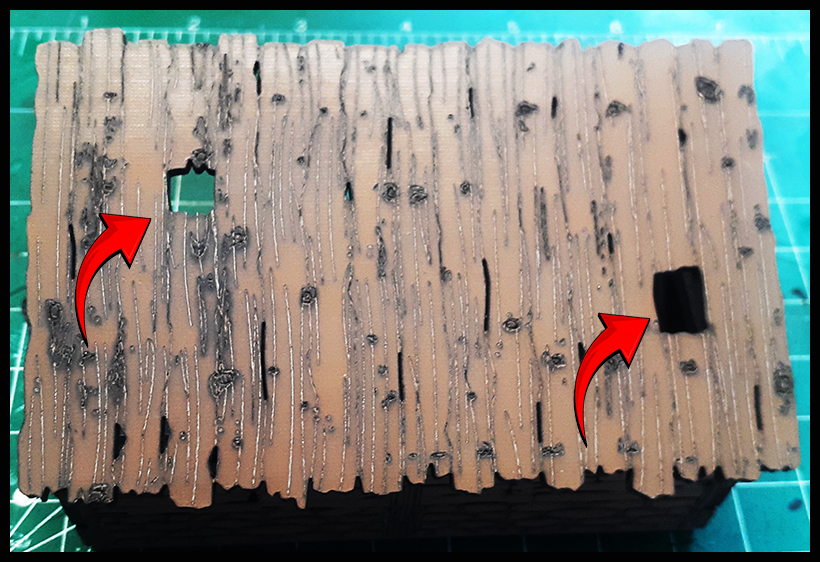
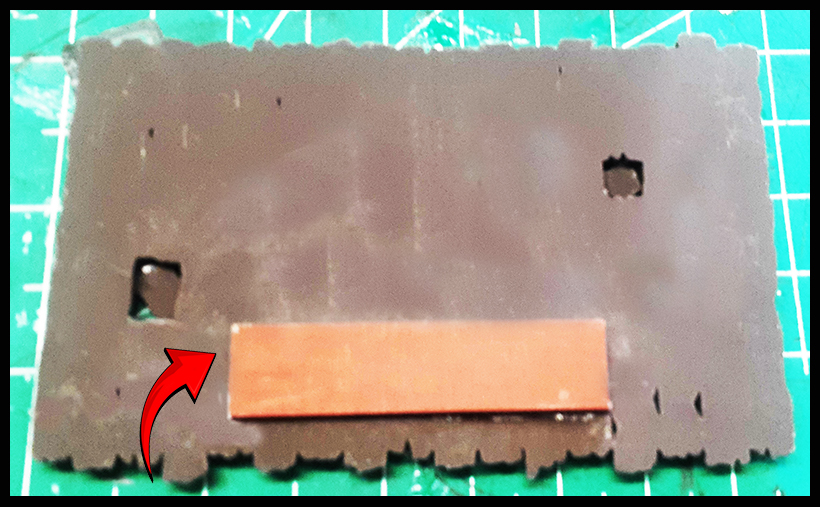
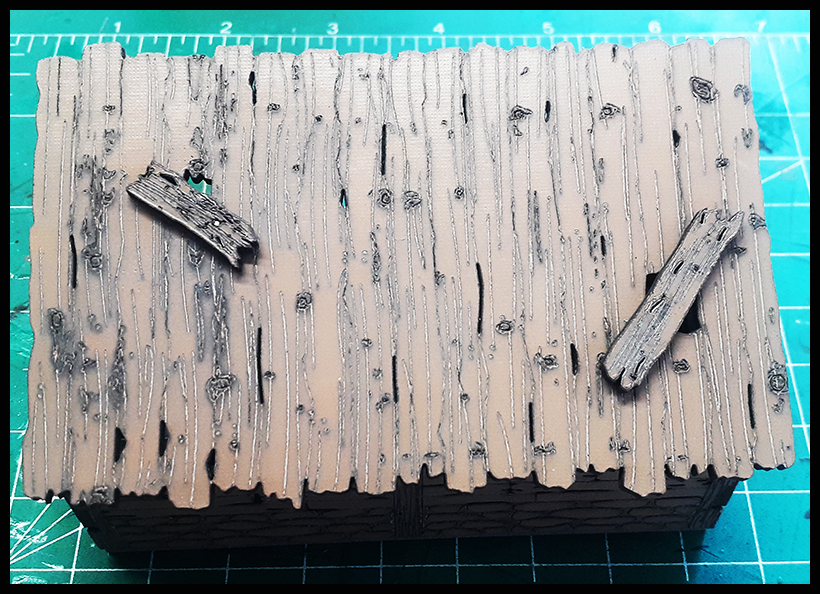
Next turn the roof as shown above. Locate the two loose repair boards (B from sheet #1). |
|
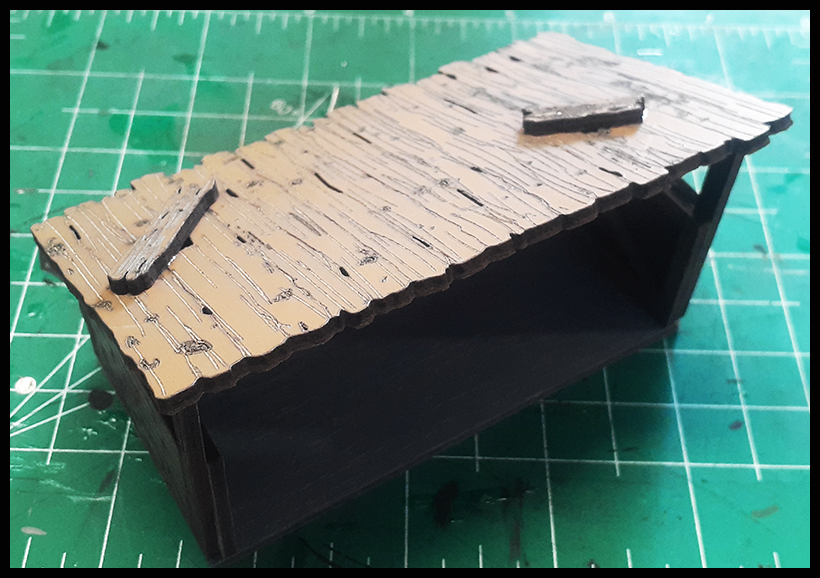
It will look something like this when complete. We glued the loose boards to cover the holes in the roof, but you can glue where you wish. |
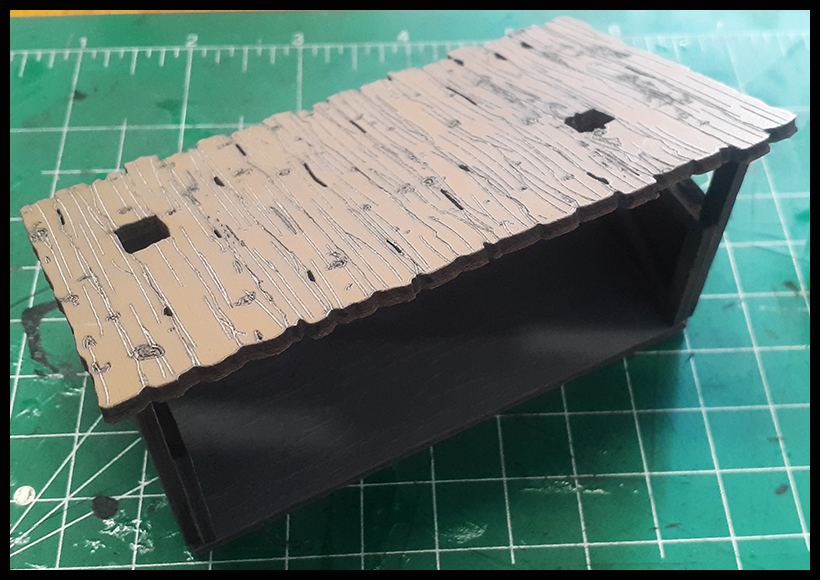
The Pigpen is now complete! |
|
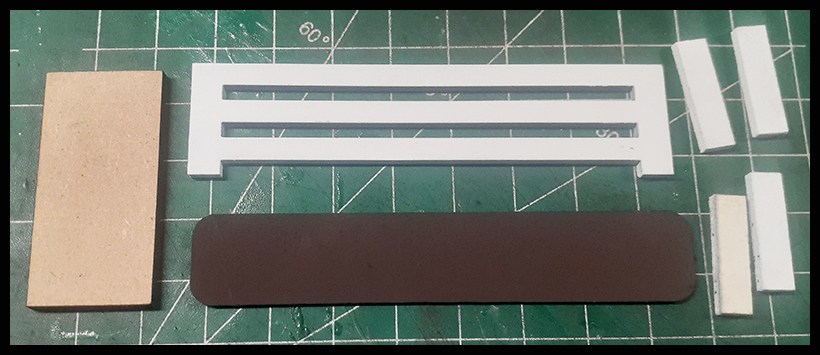
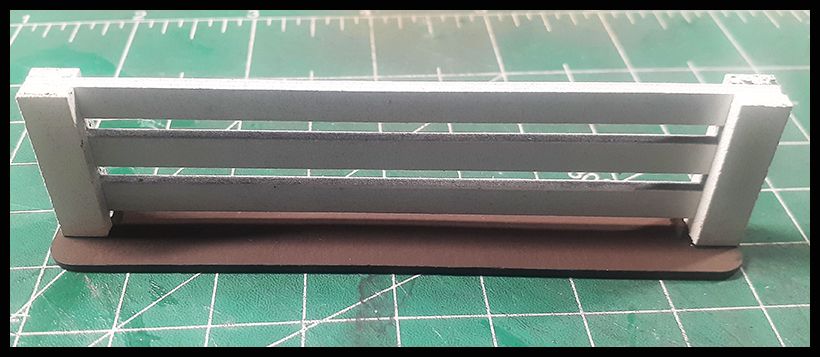
Locate Sheet #2 B, C & D. |
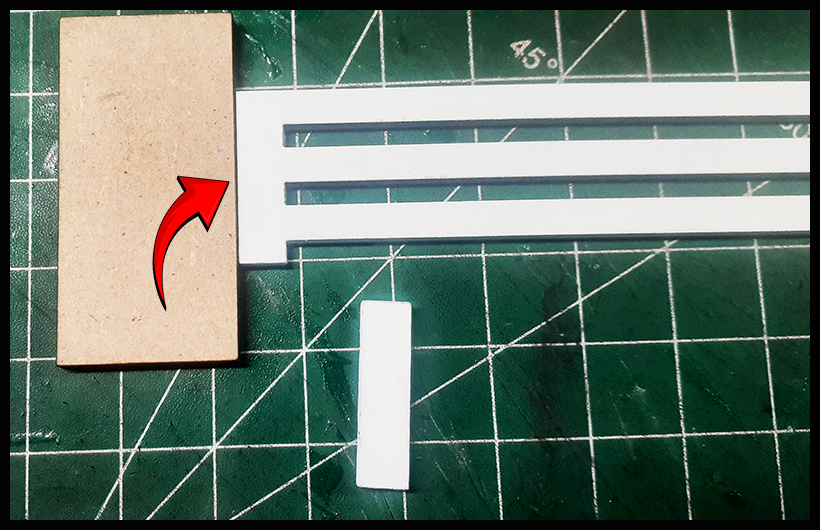
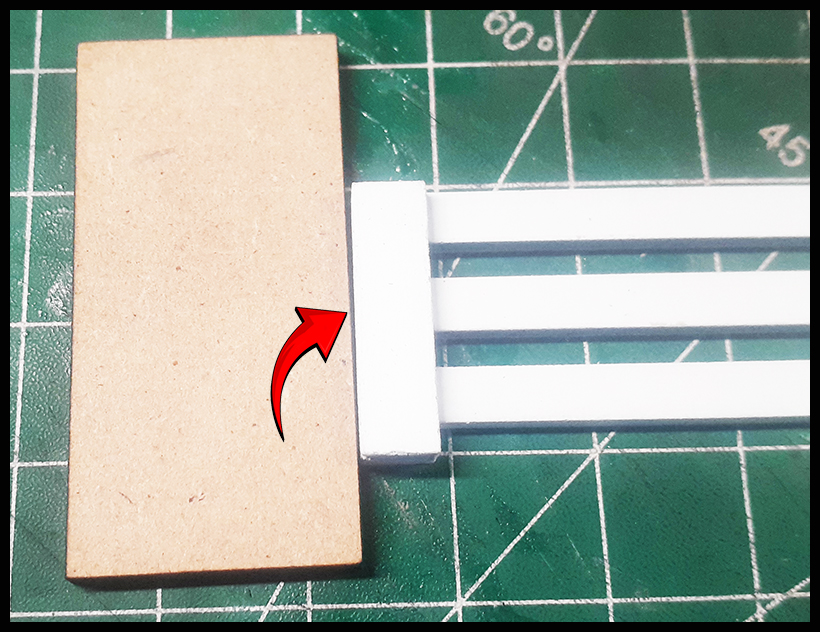
To make things easier, get something thicker than the fence pieces to use as a guide to glue the post to the fence sections. We used a piece of spare wood as above.
|
|
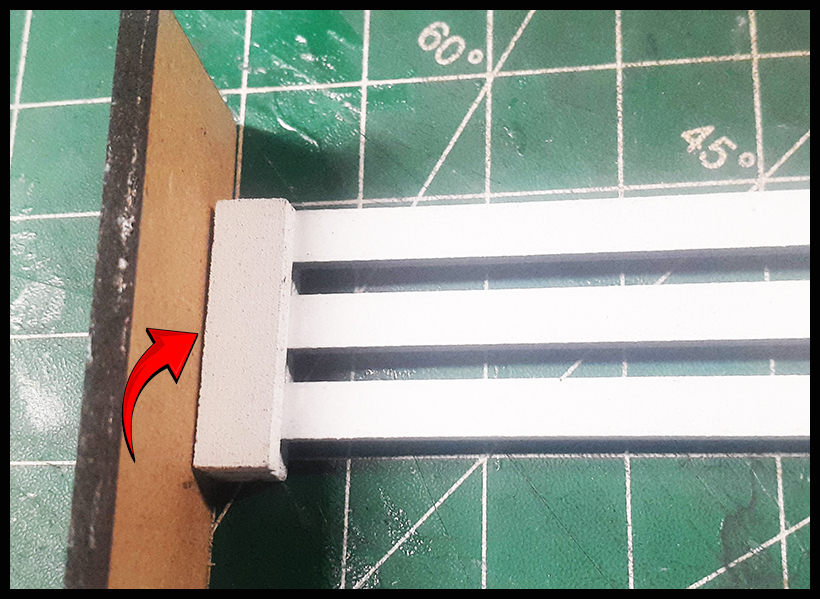
Add glue to the post part of the fence. |
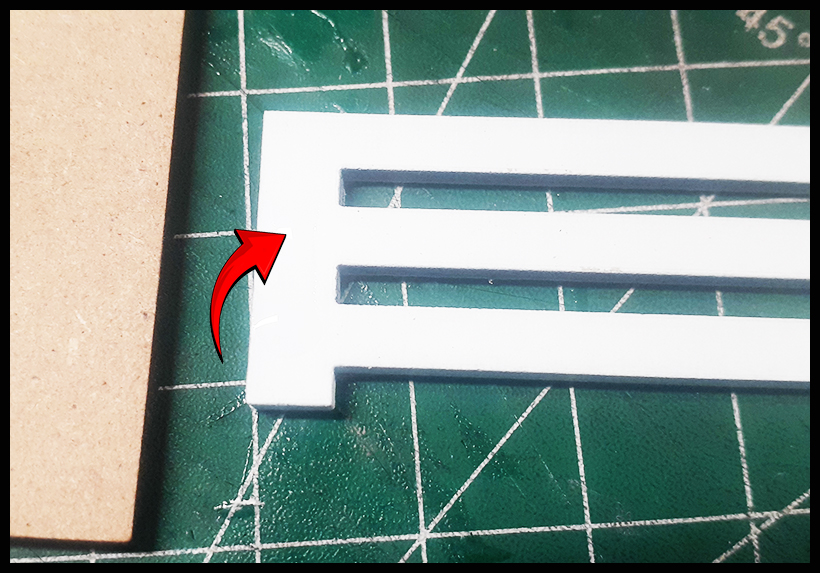
Place your guide on the side of the fence post.
|
|
Add the post on top of the attached fence post. Do not press yet to secure. Butt the fence post against the post. |
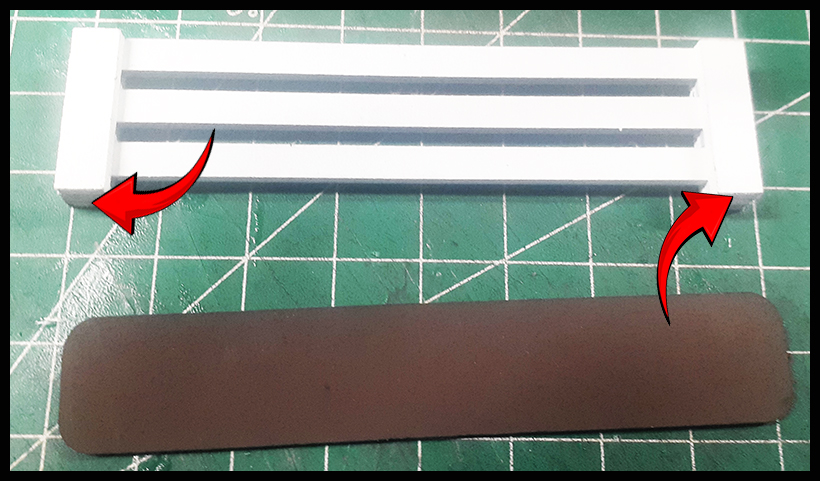
Do the same to the bottom, and once satisfied it’s in the right position, press to secure in place. Repeat four times per post front and back. |
|
Add glue to the bottom of each post and position on the fence base center. Once in place, press to secure and let dry. |
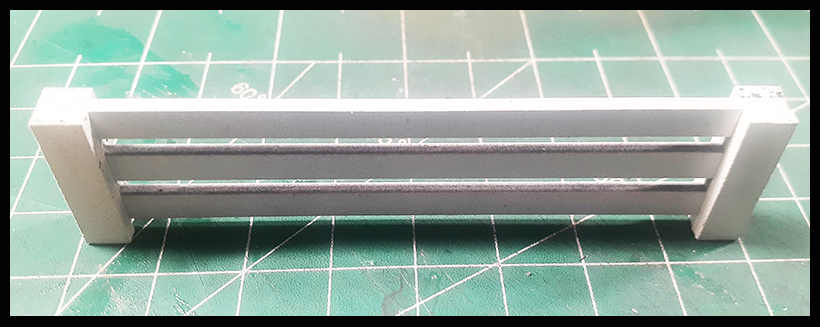
It should look like this once complete. Repeat these steps for each fence and gate section. |
|
This is the finished piece!
|
|
|
Gather the pigs and glue to their bases. You can apply flocking to further add detail to your model. |
|